Do you like the challenge of shooting wide angle photos in California?
I love a challenge, and often times everyday life doesn’t throw enough of them at us. Real challenges, like swimming through a stiff current and trying to remain silent enough to not scare away timid creatures, or rolling overboard to chase a Mola-mola without your fins…heck, anyone can sit in traffic, where’s the challenge there?
———————————————————————————
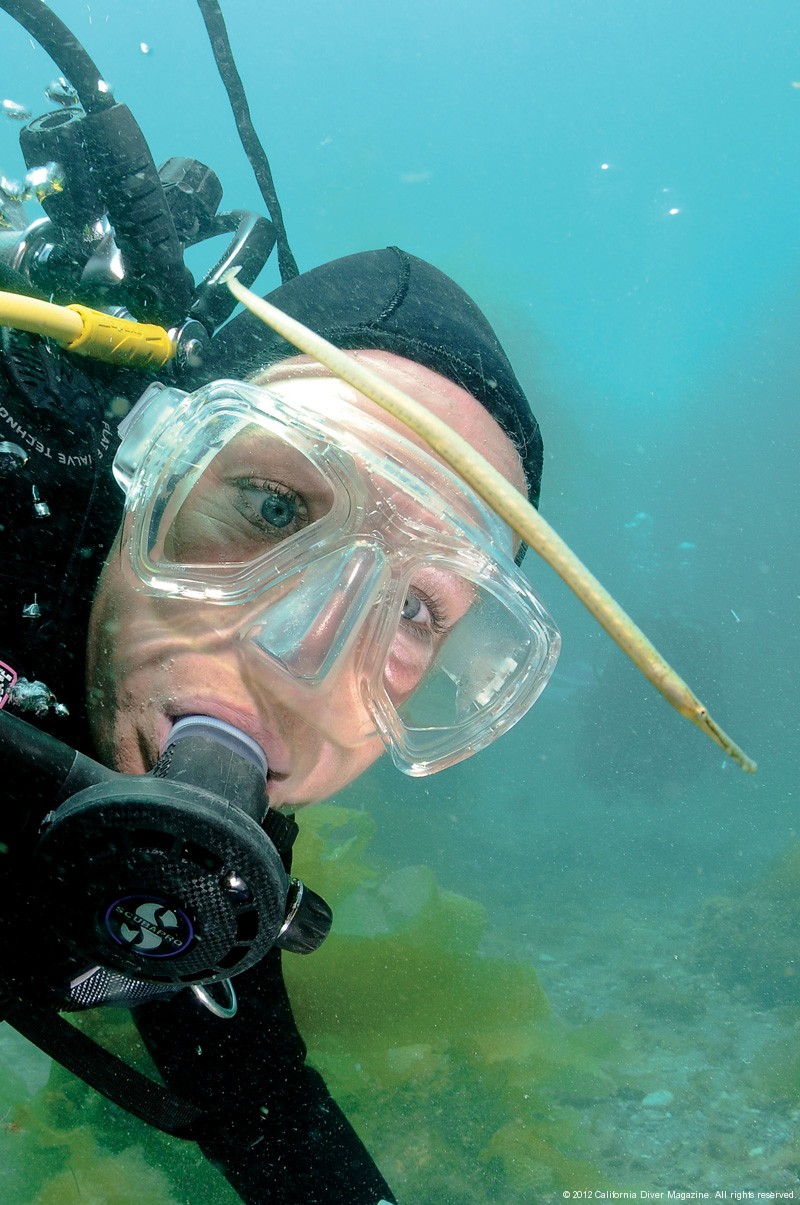
Words & Photos by Mike Bartick
———————————————————————————
Like most people, I began shooting digital photos with a compact camera that allowed me some flexibility when it came to lens decisions. One of my favorite photos was shot with my old Oly stylus. But then something happens once you decide to shoot with an SLR, the decision of what to shoot needs to be made before the dive, which often hampers the newbie photographer and the experienced alike.

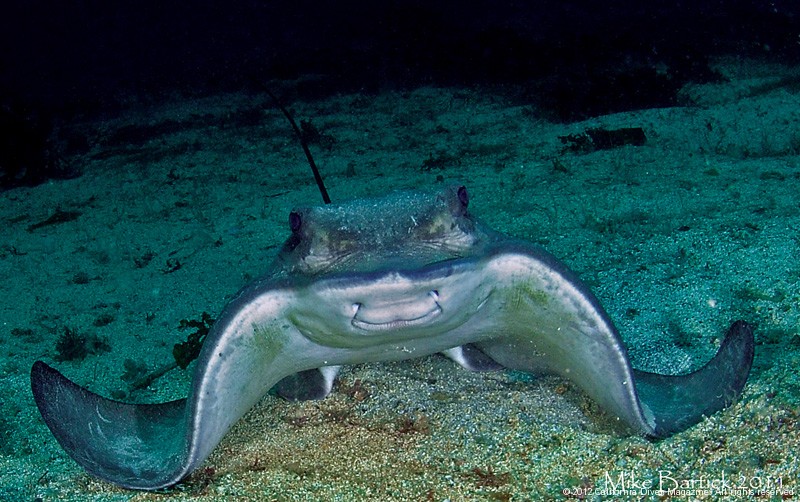
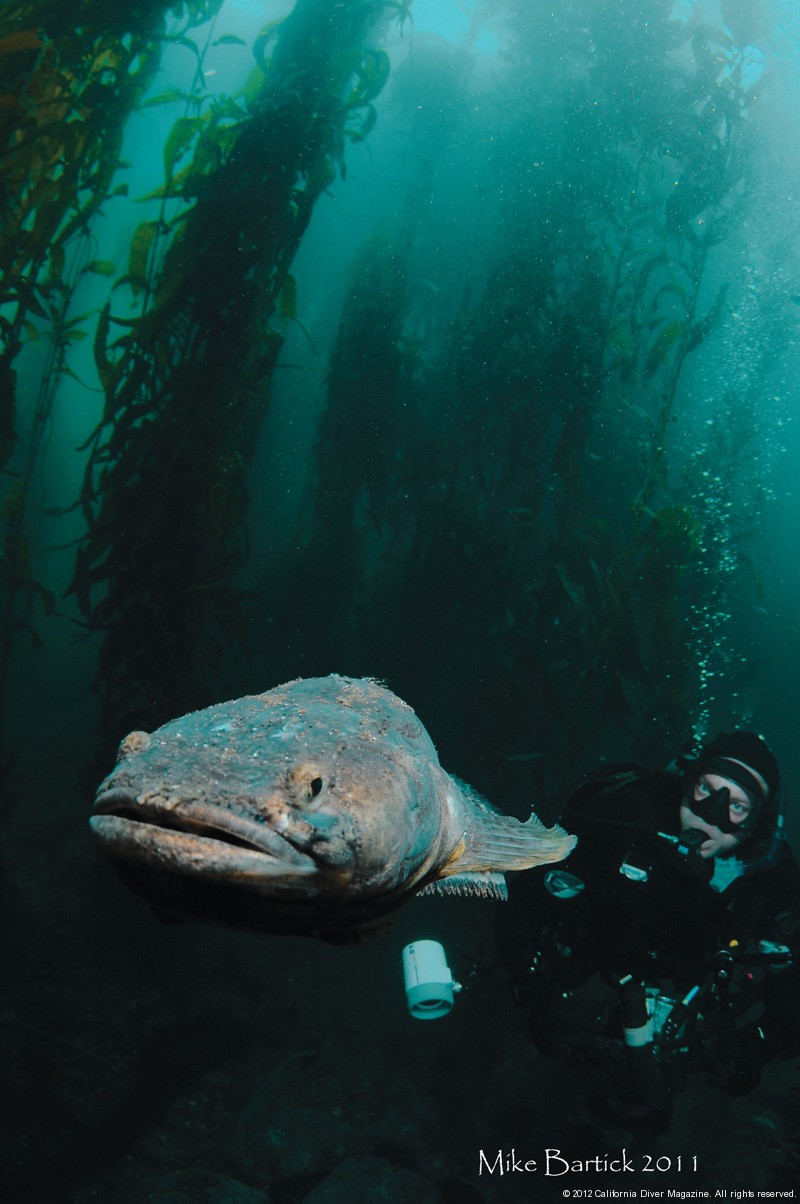
Wide angle photography offers many options in the way of composition, natural lighting, capturing animal behavior, wrecks, split photos, sun-balls and much more. And It enables the photographer the chance to capture incredible sea-scapes and natural drama as it quickly unfolds.
Wide angle lenses can range from ultra wide 8mm to 17mm, with several choices in between. Fisheye, zoom, prime and rectilinear lens choices exist throughout most of the lens manufacturers. These shorter lenses offer a broader range of view and an increased depth of field. Most wide angle lenses l,ike my trusty Nikor 10.5mm lens, offers dramatic depth of field, keen colorful contrast, razor sharp images and can focus in very low-light situations, perfect for underwater photography. Shooting wide allows the viewer to connect with the image and rarely needs an explanation as to what the viewer is looking at. What the viewer often doesn’t understand is how close a photographer needs to be to catch the action in life like form.

This is all nice to talk about but how do we shoot wide angle in California, Simply put…change your lens..but yes there is a little more to it, so let’s look at a few tips.
First, make the switch to manual lighting and forget about TTl. TTl lighting is often dictated throught the camera algorithm which is set for land photography. Operating either by a series of pre-flash metering or by single flash, the idea here is to give a perfect exposure everytime. This is a very effective way of lighting things evenly but a little flat for my taste and counter productive for wide angle shooting.
Take a look at your magazine and think of a photo as a whole. In short, recognize the layers of the photo and break it down. There are three key areas to pay close attention to:
Foreground – Something stationary like a sea fan or coral head, even your subject matter that the eye is attracted to.
Midground – This is the area where the artificial light produced by strobe power and ambient light produced by solar power mix and blend.
Background – This is where ambient lighting takes over completely.
These three key areas in the photo will intermingle and melt into each other through the entire frame. Incorporating artificial and ambient light will add color and vibrance. Negative space or a black unlit area will add natural saturation to the photo and models or friends will also help the photo to come alive.
Lighting is the main thing that many photographers overlook and is everything when shooting underwater. Turning the strobe power down will help exposures when shooting at a closer distance. Adjusting the strobe to 1/8th power and slowly increase output to ½ Power. Soft lighting is far better than overexposure and the “recovery” button in photo shop only does so much. Besides that, reducing the output can really help in reducing the dreaded backscatter.
Most of the time we don’t have the chance to stop and check off all of these items before squeezing the shutter release, however You will notice that these layers are naturally occurring in your photos already. Paying attention to these layers will enable you to create shots quickly and compose them naturally.

Composition is a factor for any photo and plays a vital role too. So without delving into a novel length article I will tap the easiest rule of them all, the “rule of thirds”. Imagine a Tic-Tac-Toe design in your viewfinder and compose your shot to meet where the lines cross. An animal’s eyes, Kelp, the sun or even a boat, using this simple rule will help you to steer away from bulls eye shots and create with eye appeal.
Another trap for photographers is not getting close enough to their subject. Many photographers think wide angle means to photograph the entire reef in one frame. While this may be possible, it doesn’t always work to well. The optimum working distance from your lens port to your subject should range from 1 inch to 3 feet, of course there are always exceptions to the rule. Getting close to your subject helps with lighting and often times gives the image greater perspective.
Now that were armed with a foundation of basics lets take a look at shooting using the manual settings on your camera too. First move that dial on your camera or in your menu to the “M” position and notice that you now have the ability to make decisions on your own. Asserting full control over F-stop, shutter speed and ISO will give you the edge your seeking and will push your camera and skills to the limit.
Set your camera up before entering the water with these suggested settings . ISO 400, F-stop’s between 5.6 and 11 are all good for animal encounter shots and the shutter speed at 125 should stop your critter with acceptable sharpness. Leaving the speed at 125 will allow you to just concentrate on the f-stop. Notice that by shooting the same subject the exposure value will change as you change the f-stop.
I learned to use the F-stop for color in the foreground and the shutter speed for the lighting in background. This little technique has allowed me to make quick adjustments on the fly and actually walk away with a few keepers. An animal encounter happens quickly so you want to be ready. After each round of photos with a subject turn your setting back to your baseline, f-8 @ 125 and continue to explore.
So lets put it all together with an easy formula for animal encounters:
• ISO 400 (Nikon) 200 (Canon)
• F-stop 8
•Shutter Speed 125
Going wide in California will be the best thing you ever did to revive your portfolio, and the challenge of going wide in California is well worth the effort. There are only a few places in the world to experience kelp, mammals, and the chilly green hue of cold water diving that only a wide angle lens can depict. So rise to the occasion, take the challenge and change your lens!

This story appeared in our January/February issue of California Diver Magazine. Subscribe today and read 68 more pages of great diving in each issue!
——————————————————————————————————————–
Words & Photos by Mike Bartick
All work is copyright and may not be reproduced without express written permission.
——————————————————————————————————————–